*This blog post is part of a sponsored collaboration with British Gas*
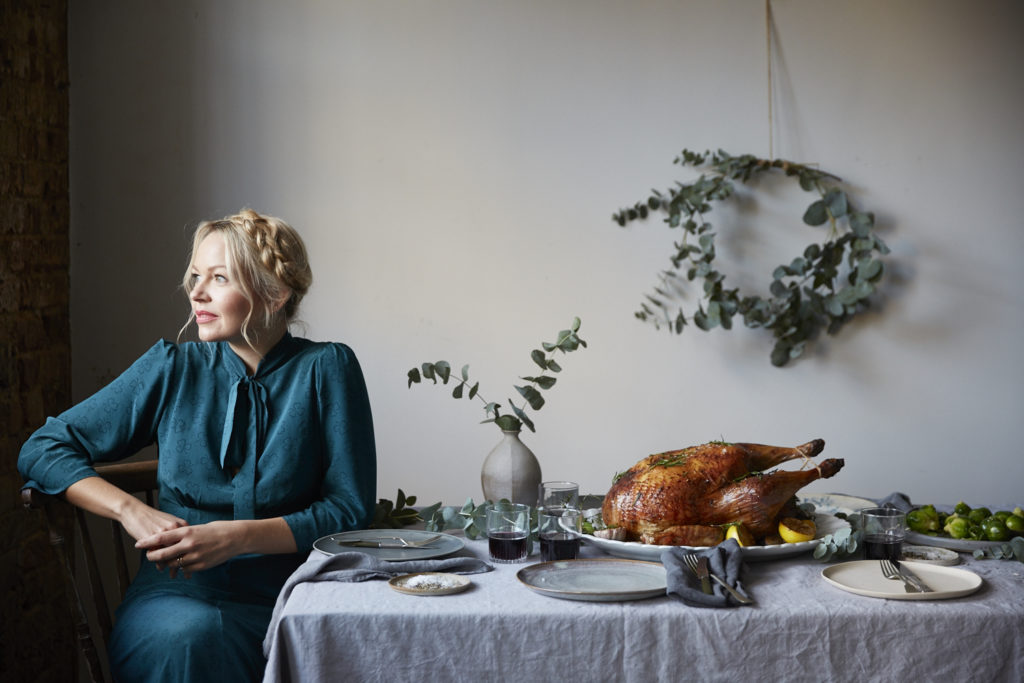
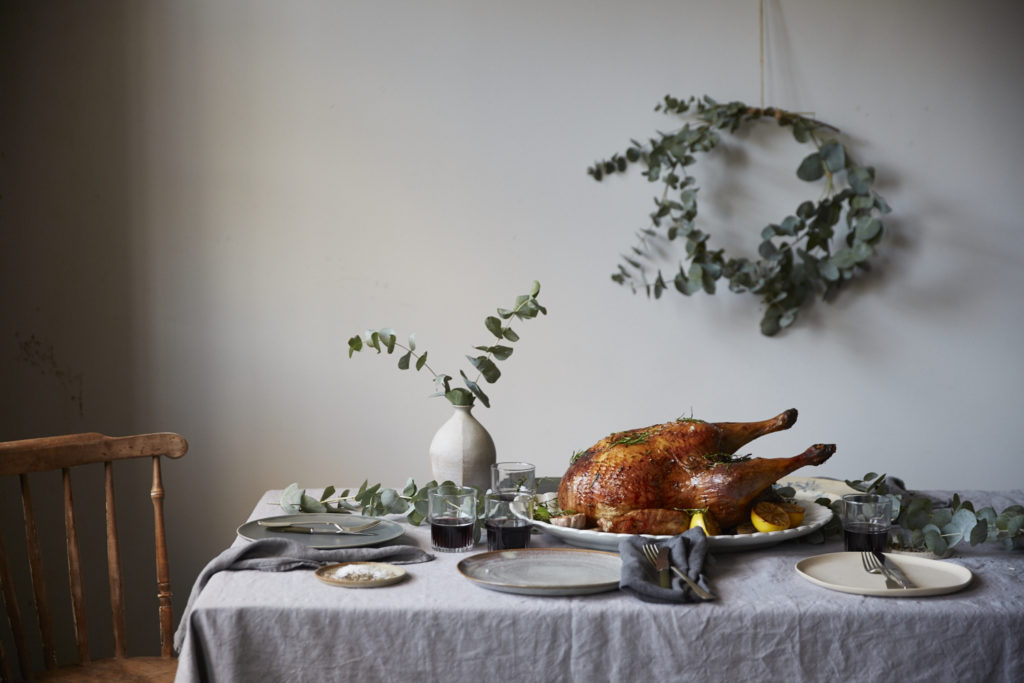
I know it’s not everyone’s thing, but I blooming well love Christmas, and Christmas dinner. A holiday that revolves around food is always a winner in my book, and having an extended period of time in the depths of winter to batton down the hatches with friends and family and feast is such a treat – albeit a treat punctuated with the odd family feud or Christmas film-related fall-out. But whether you’re someone who watches Home Alone on repeat, or who’ll be binge watching the entire new series of The Crown (I’ll be doing both, thank you), the chances are, if you’re reading this blog, you’ll also be doing some time in the kitchen this December. Call me Scrooge, but I actually feel pretty lucky that I get to escape to the kitchen at Christmas, and I like to perpetuate the idea of the kitchen as a calm and creative solace, rather than a hot and stressful space. It should be fun to be holed up with a glass of something cold and bubbly, Christmas music blaring, cooking up some amazing food to share with your loved ones, but of course I know that it can also feel like a strain.
Cooking any roast, with all its component parts, can be tricky – and Christmas dinner, being the most important roast of the year – can feel like an awful lot of pressure. Thankfully, I’ve got it pretty much down now – especially after cooking it at various stages throughout the year for different Christmas shoots – and this year, I’ve teamed up with British Gas and their smart meters to create some foolproof recipes and hacks to save you stress and energy (and hopefully some pennies) this Christmas.
According to some research undertaken by British Gas, some of the most common concerns about Christmas cooking catastrophes are, in order of severity: dry turkey; soggy or burned roast potatoes; greasy, lumpy gravy; boggy sprouts and a Christmas pud that refuses to flame. I’ve addressed these anxieties in the recipes and hacks below, while using smart meters to ensure the most energy-efficient methods for cooking them, because we all know that Christmas can be a rather wasteful and expensive time of year. Hopefully these tips will help you to not only create a delicious feast, but do so in the most energy efficient way possible. I hope you enjoy them as much as we did during and after the shoot, and that you have a really happy and restful Christmas, full of good food and cheer.
To die for turkey
Serves 8-10

I’m a big believer in buying less, better quality meat, and when it comes to Christmas – probably the most special meal of the year – I think it really pays to go all out and opt for a beautiful slow grown, outdoor reared bird. Look for a slow grown turkey which is grown to full maturity because as the turkey matures it lays down natural fat, which carries the flavour and conducts the heat through the meat whilst cooking – meaning it takes less time to roast than a normal bird. Try not to get too anxious about cooking the turkey – it really is just like a great big chicken and the thing to remember is that if you start with a lovely bird in the first place and don’t hammer it in the oven, you can’t really go wrong. It’s quite an old-fashioned idea that you have to spend hours and hours roasting your turkey – this will dry the bird out. If you bring it to room temperature before cooking and rest it for a good amount of time it doesn’t need all that long in the oven (again, this is if you use a slow grown, high welfare bird), and you’ll still have a gorgeously golden and juicy bird. Plus, less time in the oven means less energy usage, and more time to focus on the trimmings! Of course, ovens and turkeys vary so keep a close eye on the bird and use a meat thermometer. One of the most important things is salting the turkey really well at least a day before you’re going to cook it, to season it from the inside out. The salt will get sucked into the meat, seasoning and tenderising it and making for a beautiful juicy bird.
Ingredients
5 small white onions
3 carrots
2 sticks of celery
6 bay leaves
large bunch of rosemary
4-5 kg slow grown turkey – neck included
2 tbsp sea salt flakes
200g of butter, room temperature
3 lemons
The day before you cook your turkey, season it really well all over and inside the cavity with sea salt flakes.
*You’ll need to take the turkey out of the fridge 3 hours before cooking
Preheat the oven to 180°C (fan, 200 in a conventional oven) and get yourself a high sided, snug-fitting baking tray large enough to fit your turkey. Quarter your onions leaving the skin on, chop the carrots and celery in half, and scatter these over the base of the tray along with four of the bay leaves, 5 sprigs of rosemary, and the turkey neck. This is going to act as a base for the turkey to rest on, and give you an amazing gravy later.
On a large chopping board, pat the turkey dry with kitchen towel and then cover it with butter, massaging it all over and coating it with a good layer. Season well with pepper. Take one long stick of rosemary and remove most the needles so you’re left with a woody stick. At the cavity end of the turkey use the rosemary skewer to pierce through the skin – this will stop the skin from slipping back whilst roasting.
Place the turkey on the prepared tray. Slice the lemons in half, and place in the cavity along with the remaining rosemary and bay, and then cover tightly with foil. Place In the pre-heated oven for 2 hours, basting every half hour or so. After two hours, remove the foil and place back in the oven for a further hour, or until your meat thermometer inserted into the thickest part of the leg registers 65 degrees (the turkey will cook on while resting).
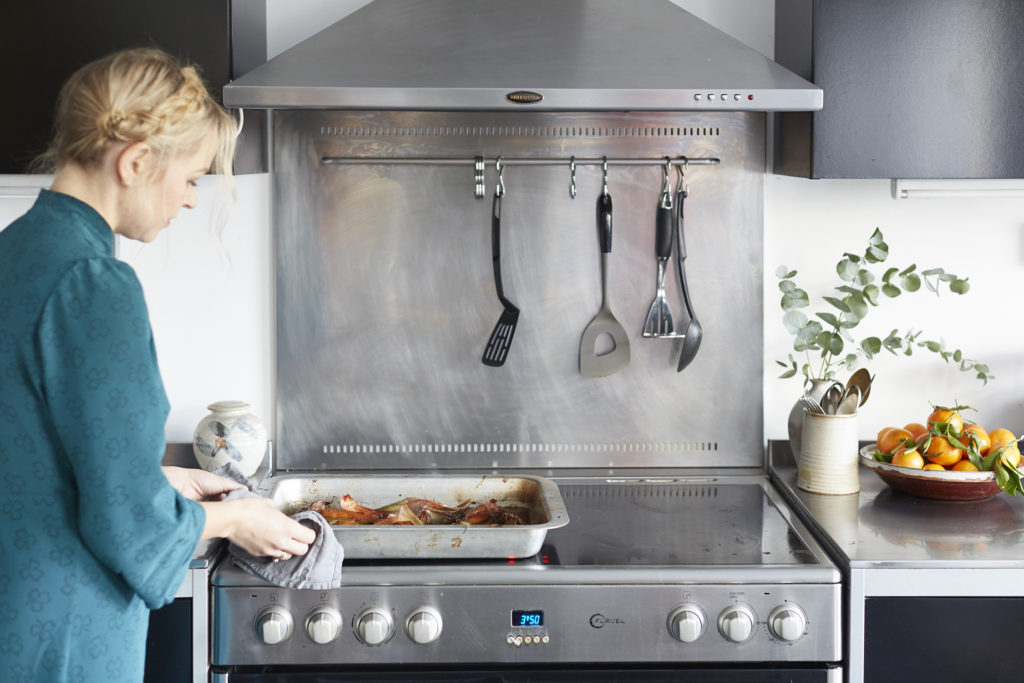
Remove the turkey from the oven and place on a platter. Re-cover with two layers of silver foil and a tea towel and leave to rest for 1-2 hours. This will keep the heat in so the bird continues to cook even while it is out of the oven, thereby saving energy. You can get on with the gravy whilst the bird is resting so make sure you keep the tray of bits for later.
Once rested, drain the turkey of the excess juices for the gravy and then carve up. With turkey I like to remove the two breasts in their entirety and then slice them into nice thick slices, to be served with some of the delicious dark leg meat.
Gosh darn gorgeous gravy

Nothing seals the deal on a successful Christmas dinner more than the gravy. Quite simply, it has to be the most delicious part of the meal, as you pour it all over everything else! Good homemade chicken stock and a generous splash of sherry is my secret, along with reusing your turkey roasting pan for the gravy: not only will this have all of the flavour of the roasted meat, but the pan will also already be piping hot from the oven and so will heat your gravy up quicker, meaning you won’t need to have it on the hob for as long.
Ingredients
The roasting tray left from the turkey cooking
200ml of fino sherry
2 tbsp of quince jelly
2 tbsp of plain flour
1ltr of chicken stock (preferably home made)
Drain the excess fat left in the turkey roasting tray and keep in a jar or a bowl, leaving about 3 tbsp in the tray. Pop the rest in the fridge to use on anything else over Christmas to add a burst of flavour. You could even try using it for your roasties, though I prefer the flavour of goose fat.
Scatter the flour over the fat and give it a good mix with a wooden spoon so it becomes a smooth paste. While the tray is still hot, pop it on the hob on a low-medium heat, giving it a good stir to remove any sticky bits from the bottom. Add the sherry and stir to combine and thicken, then spoon in the quince jelly to the tray. Stir until all has combined well, then slowly pour in the stock and whisk to get rid of any lumps. Simmer for 20 minutes or until nice and glossy. Pass the gravy through a sieve, pushing all the solid bits through to extract maximum flavor. Keep warm in a pan and then pour into a pre-heated gravy jug.
Perfect roasties – to make while the turkey is resting

Perfectly golden, crispy roast potatoes are just one of the most wonderful things about life – let alone any roast dinner, in my book. I like to use goose fat at Christmas for some extra oomph and luxury, and because it gets them really crispy, but you could always use rapeseed oil if you’re catering for veggies. Microwave your potatoes to parboil them before roasting – this will reduce the time they need in the oven and therefore the amount of energy used. Softening them in the microwave is also quicker than boiling them on the hob and uses less energy, as well as taking up less hob space. Another trick to save time and energy is to get your roasting fat really hot on the hob rather than heating it in the oven, and then tip the parboiled potatoes into the hot fat before roasting. I tested these bad boys out on self-confessed potato fanatic (and the brilliant photographer behind these photos) Helen Cathcart, and she was raving about them, so hopefully they will go down a treat in your house too.
Ingredients
2.5kg of Maris piper potatoes or King Edwards, peeled
8 tbsp of goose fat
1 bunch of rosemary
2 heads of garlic
1 lemon
Sea salt
Pre-heat the oven to 200°C – 10 minutes before you’re due to put the potatoes in. This is all the time the oven needs to pre-heat – any longer and you’ll just be wasting energy. Chop the larger potatoes in half and leave the smaller ones whole.
Split the potatoes into 2 microwave proof bowls. Add 300ml of boiling water to each bowl with a good pinch of salt over the potatoes and cover with cling film. Place each of the bowls in the microwave, one at a time and cook each for 5 minutes on high power.
While the potatoes are in the microwave, place 2 large roasting trays on a high heat on the stove and add the goose fat and heat for 5 minutes.
Once the potatoes are par-boiled, drain the in a colander, cover it with a tea towel, and give them a good shake to really chuff up the edges. You can’t be too zealous here, we want fluffy! Toss the potatoes into the trays and use a spoon to coat each one in the hot fat, then place in the oven for 20 minutes.
Strip the rosemary leaves from their stalks, bash the garlic (leaving them whole in their skins), peel the skin of the lemon into strips on a large board, discarding the pith, and then toss it all together.
Remove the trays from the oven after 20 minutes, turn the potatoes in the fat and scatter over some more salt. Return to the oven for a further 15-20 minutes, or until golden and crisp, then add in the remaining ingredients and give them another 20-30 minutes, until perfectly crisp and golden.
Spruced-up sprouts
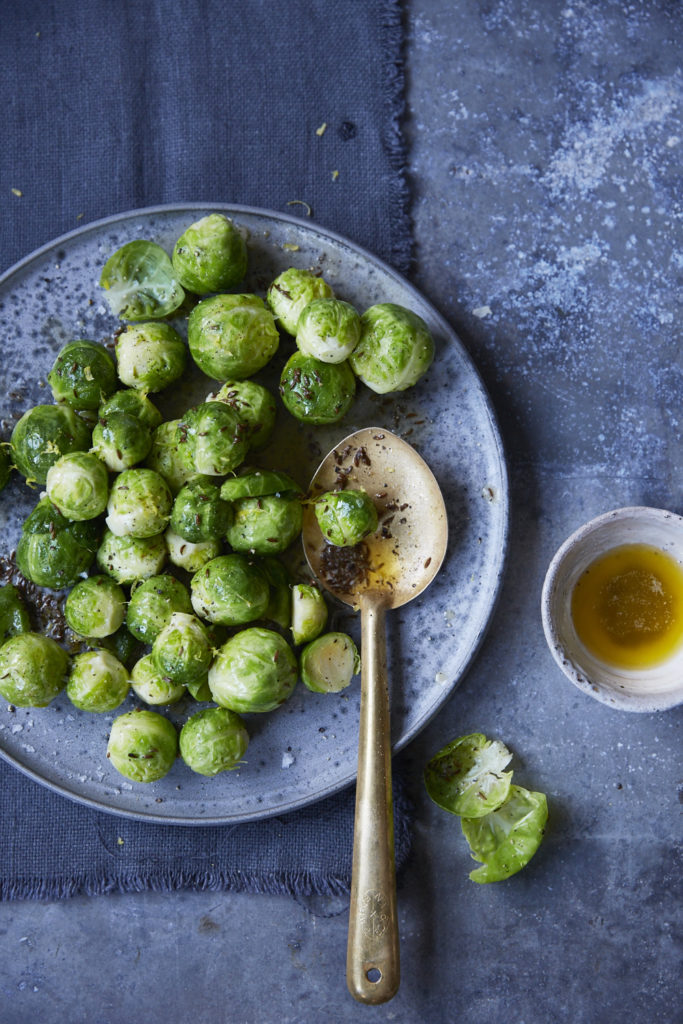
They get such a bad rep, but sprouts are one of my favourite ingredients at this time of the year. They are just like lovely little Savoy cabbages, and so nutty and and good for us. We should learn to love them! And if you cook them well, they are so delish. Boil sprouts in a pan with the lid on to trap the heat in, which will mean you can boil on a lower temperature, thereby saving energy. Turn the heat off 5 minutes before the sprouts are done (while still keeping the lid on) so the residual heat of the water will keep cooking them. Once cooked, drain and refresh the sprouts in ice water to set the vivid green colour, then finish them off in some lovely caraway seed butter.
Ingredients
750g of Brussel sprouts
2 tbsp of caraway seeds
100g of butter
1 lemon
Salt and Pepper
Place a large saucepan over a high heat, seasoned generously with salt. Trim the base of the sprouts and remove any yellow leaves they might have. It’s a myth that you have to put a little cross in them, so that saves you a job! Once the water has hit a rolling boil, turn the heat off and pop the sprouts in and cover with a lid. The water will retain enough heat to cook the sprouts, meaning you won’t end up using too much energy. Leave the sprouts in the water for 6 minutes.
Grab a large bowl and fill with ice and water. Drain the sprouts in a colander and plunge into the ice water. This will keep them a vivid green (the ice will set the chlorophyll) and stop them from overcooking.
When ready to serve, place the butter and caraway seeds in a large frying pan over a medium heat and gently melt together. Drain the sprouts and toss them in to warm through, coating them in the butter for about 4 minutes, squeezing in the juice of half a lemon.
Pour into a serving dish. Using a fine grater, grate the zest of the remaining half a lemon over. Season well and serve.
Cheat’s Christmas pudding
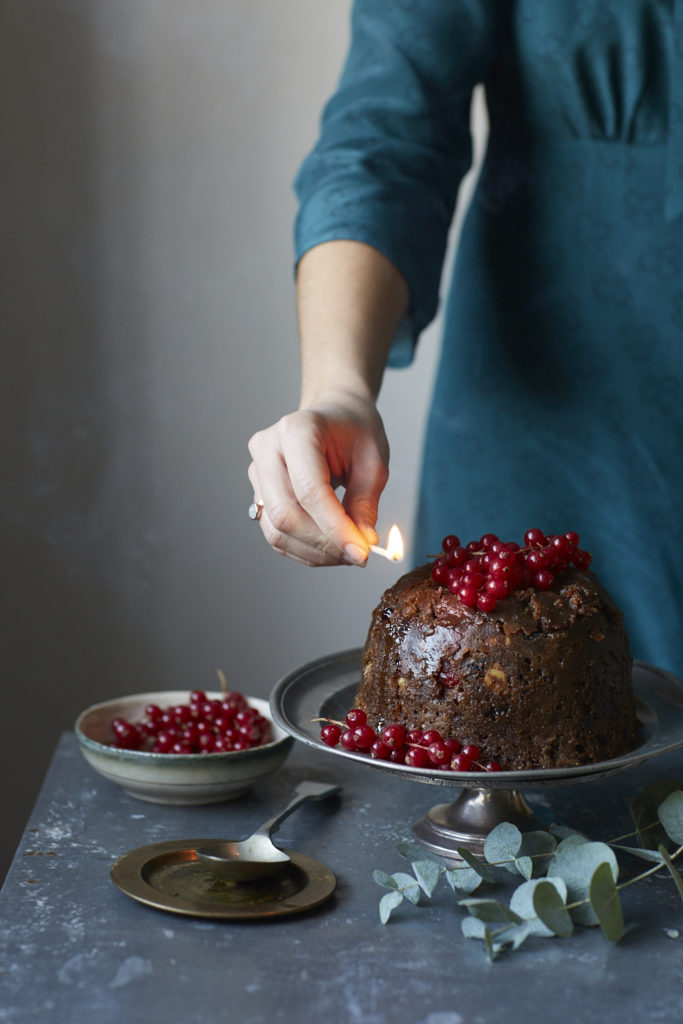
It may sound unconventional – and I’m sure some traditionalists will be aghast – but, if you want to have a go at making a Christmas pudding from scratch, you can cook a really delicious one just with your microwave. Who knew? It’s much faster than steaming and uses just 2% of the energy – which you can check on your smart energy monitor. The result is a lighter, cakier pudding. Drench in brandy and set on fire for a lovely centrepiece.
Ingredients
50g of toasted blanched almonds
20g roasted skinless hazelnuts
75g Maraschino Cherries, halved
100g dried figs, finely chopped
150g of good quality mincemeat
½ a tsp of allspice
½ tsp of ground ginger
½ tsp cardamom seeds (pods rermoved)
1 pear, grated
100g of clementine or orange marmalade
150g of wholemeal self-raising flour
4 large eggs
150g of frozen butter, grated
100g of molasses
100g of black treacle
juice and zest of one orange
3 tbsp of brandy plus extra to serve
Clotted cream, to serve
Liberally butter a 2 litre pudding basin and set aside.
Chop the half the toasted almonds and hazelnuts until well chopped, leave the rest whole. In a large mixing bowl mix the nuts, cherries, dried figs, mincemeat, spices, pear and marmalade.
Give everything a good stir, then sift in the flour and add in the eggs one by one. Mix in the butter, molasses, treacle, juice and zest of the orange and brandy. Gently fold everything together.
Pour the mixture into your prepared basin. Cut a circle out of greaseproof paper and place snuggly on top of the mixture. Cook in the microwave on a medium heat for 20-25 minutes or until a skewer comes out clean.
Turn out onto a serving plate, top with some red currants and pout over 3 tablespoons of brandy and light at the table. Serve with oodles of clotted cream. Then go and have a lie down.
Photos by Helen Cathcart
Food and props styling Emily Ezekiel